A large blank wall in your home can feel daunting, but it is an opportunity to tell a story that is uniquely yours. A gallery wall lets you layer art, photos, and keepsakes into something personal and visually stunning. These installations may look complex, but the steps are simple and can be easily tailored to fit your space and style.
1. Define the Goal & Vibe
Start by deciding what you want the wall to feel like.
- Clean and modern (uniform frames, grid layout)
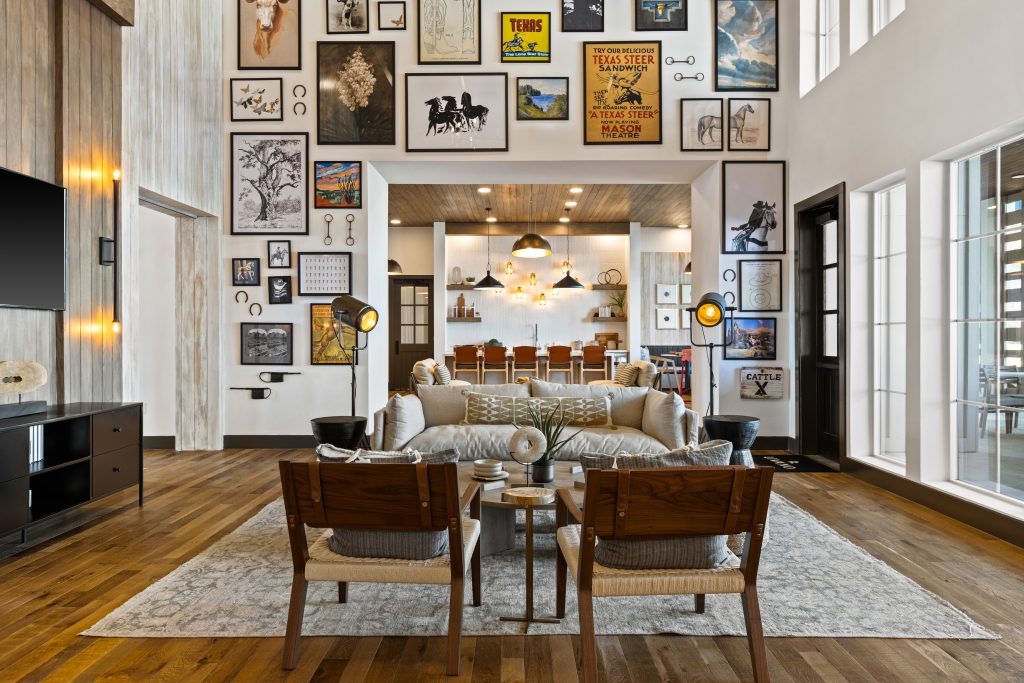
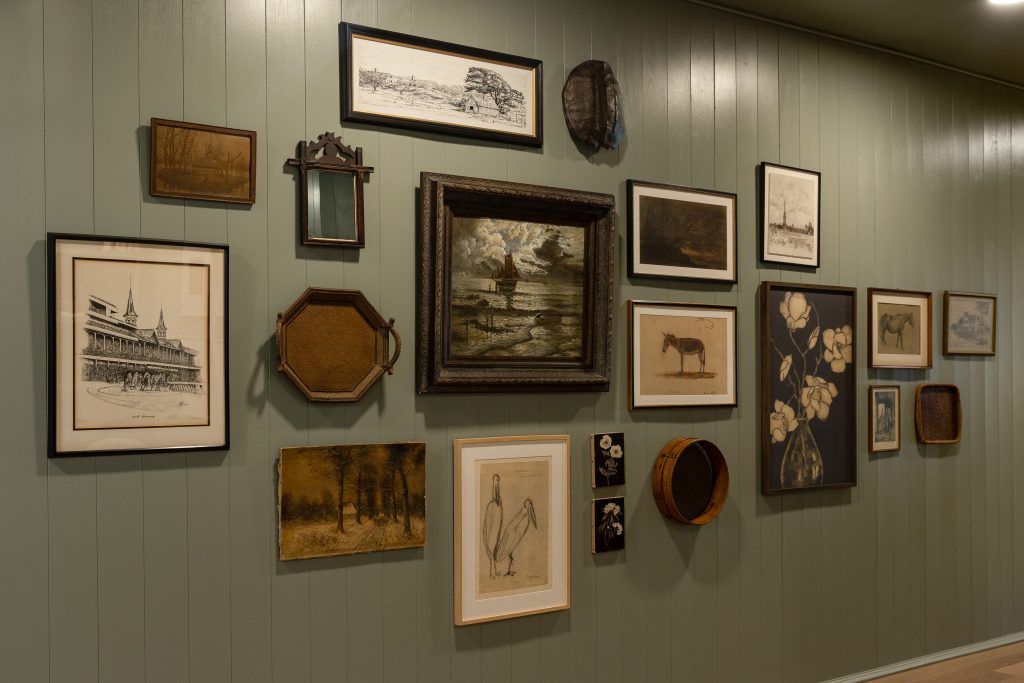
- Collected and eclectic (mixed frames, organic layout)
- Personal storytelling (family photos, travel, kids’ art)
Pick a loose theme—color palette, subject matter, or frame style—to keep it cohesive.
2. Choose the Wall
Look for a space that naturally benefits from visual interest:
- Above a sofa or console
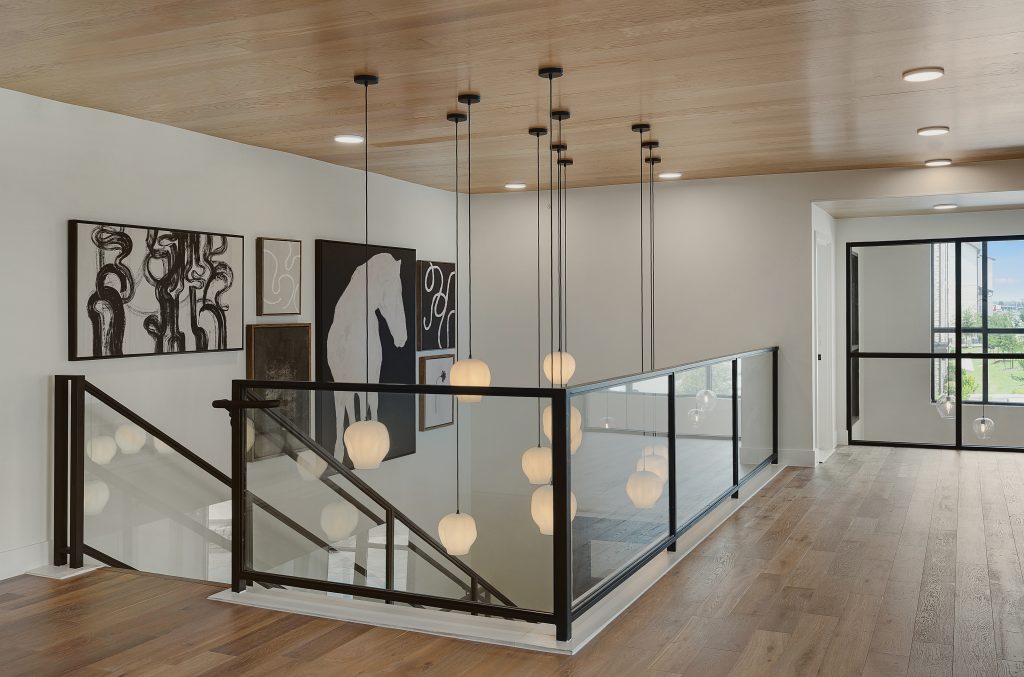
- Staircase wall
- Hallway
- Bed wall
Make sure the wall has enough breathing room—gallery walls need space around them to shine.
3. Gather Your Art & Objects
Collect more than you think you need, then edit down.
Include a mix of:
- Art prints or paintings
- Photos
- Text-based pieces
- Sculptural items (small mirrors, objects)
Lay everything out and remove anything that doesn’t fit the overall vibe.
4. Pick a Layout Style
Choose a structure before you hang anything:
- Grid: symmetrical, same-size frames
- Salon style: organic, mixed sizes
- Linear: aligned along a center line
- Anchor piece: one large piece with smaller ones around it
5. Plan It on the Floor First
Lay everything out on the floor in front of the wall.
- Start with your largest or “anchor” piece
- Build outward with medium, then small pieces
- Keep spacing consistent (2–3 inches between frames is a good rule)
Take a photo once it looks right, this becomes your reference.
6. Transfer to the Wall (Without Guessing)
Two good methods:
- Paper templates: Trace each frame on paper, tape to the wall, and adjust
- Painter’s tape outline: Mark the overall boundary of your gallery wall
This step prevents unnecessary holes.
7. Hang the Anchor Piece First
Start with your largest or most important piece.
- Hang it at eye level (typically ~57–60 inches to center)
- Everything else builds around this
8. Build Outward
Work from the center out:
- Maintain consistent spacing
- Step back frequently to check balance
- Alternate orientations (vertical/horizontal) for visual rhythm
Don’t overthink perfection—slight variation adds character.
9. Mix Frames (Intentionally)
If you’re mixing styles:
- Repeat at least one element (color, material, or thickness)
- Keep a unifying thread (e.g., all black + wood frames)
If you want a cleaner look: stick to one frame color.
10. Final Adjustments
Once everything is up:
- Swap pieces if something feels off
- Check alignment visually (not just with a level)
Add or remove one piece if needed—balance matters more than symmetry
Tips & Tricks
- Keep spacing consistent, this is what makes it look intentional
- Treat the whole arrangement as one large shape
- Eye level matters more than exact measurements
- Many retailers sell assorted frame packages specifically for gallery walls (Amazon, Pottery Barn, Etsy, West Elm, Target)